Monday, July 9, 2012

Color Dots Equals Color Chart


Color chart:
If you are embroidering on a printed fabric or using an applique from the fabric, clip the color dots from the selvedge to take to the store (or your supply area) to pick the colors of thread to use, either a close match or coordinating.

Selvedge with color dots

Happy Stitching!

Rose

Monday, July 2, 2012

How to avoid this:

Loose threads

I used to have lots of these “messes”. A lot of people would just toss them but not me1 After all there just might be that last piece of thread needed to finish a project. So this is what I do. I only save pieces that are long enough to work with. The rest go in my ORTS jar or to the birds to add some color to their nests.
The ones I’m keeping will be put onto a ring such as a carbone ring. I add them using an overhand knot. To do this fold the thread in half, put the loop that is formed under the ring and then pull the ends through the loop. Note: this doesn’t work so well with “slippery threads” such as rayon or nylon.
Threads on a carbone ring

You can use the ring for random threads, for threads prepped for a project, or by color. It would be a good way to see how colors work together also.

These rings can be hung from pegs on a pegboard, tacks on a bulletin board or even a hook placed near your work area.

If you use this idea for a project that you carry around with you it will take up little space.


Happy stitching!

Rose

Saturday, June 30, 2012

Just Another Quick Pop In


Palestrina Stitch Scribble

Just a brief update for the stitching challenge. This week we were given the Palestrina stitch to learn or practice. I’ve never worked this stitch but every time I see it in one of my many embroidery books I think I need to try this stitch. So finally I’ve done it and I like it! This will definitely be going on my go to stitches list. I’m already planning on where to use it next. I didn’t experiment with it too much but will definitely work on different ways of doing it. I do prefer the close stitched ones the best.
Close Up of the Palestrina stitch worked close together

 Now the previous week’s stitch is a different story. After many attempts (at least 4) and then seeking out a video of someone working the Cable Chain stitch I finally got it. But it is not one of my favorite stitches for sure! I have seen some great uses of this stitch from others working the weekly stitches.
Cable Chain Stitch Scribble


Happy stitching!

Rose

Saturday, June 16, 2012

I Love Doing Wheelies!


Buttonhole Wheels

Much to my surprise I found the buttonhole wheel addictive. That’s the stitch assigned to this week’s TAST2012. Maybe I like it because it is round. Round seems to be my favorite shape. I love buttons, fabric yoyos, woven spider web stitch, and dots, just to name a few.

I considered going a different direction for this stitch rather than my usual scribbles but decided to stick with the scribble. I did however scribble in a conscientious way so that I would have round places where I could work the buttonhole wheels. Then I added little individual circles all around my scribble. (And this was even before I knew how enjoyable I would find them!) I like the way it turned out, I used a backstitch to connect my scribble ones and added large French knots to a few of them. I might put a bead in the center of the smaller ones. The thread I used was variegated pearl cotton.


Cretan and Knotted Cretan stitch


The week before was a catch up week but I had already finished working all of the stitches. Before that was the knotted Cretan stitch. Since I didn’t get a post up earlier I’ll show it now. I had trouble getting started with this stitch so I started with a plain Cretan stitch and then worked into a knotted Cretan once I was comfortable with how the basic stitch went.


I’m continuing to work on my butterfly vest. The outer edges of all of the butterflies have been finished as well as their bodies. I’m in the process of adding the antennae.

Batik block
For the quilt guild I belong to the challenge for June was to use four different batiks and made a railroad block. I found some batiks in my stash and then added two more before deciding which ones to use. I wasn’t sure I liked the combination until I actually put the block together. This is how it turned out. Now I wish I had enough to make a full quilt!


Lion and Lamb embroidery


My blocks for the crazy quilt challenge are coming along- slowly. The lion and the lamb for the March block are done.

I know, I know the lion should be roaring but my grandson (8 months old) loves to look at his Tutu’s work and I didn’t want to scare him! Haha!


Finally went ahead and made the blocks for April, May and June. Now to get them all stitched and embellished.

April block
May block
June   block
Happy Stitching,
Rose

Monday, June 11, 2012

Remember This?

Butterfly Vest

Well I mentioned last time that I really needed to get started in my 12 in 12 UFO projects. This being six months into the year I thought I was going to pick some items that needed just a little bit of work. But no, my eyes landed on the butterfly vest and that’s where I went. To have it totally finished and lined will take some time. In the meantime my goal is to get all of the outside edges stitched down and the butterfly antennas done by July. I’m down to a few more wings and then the antennas. I plan to wear it to my quilt guild meeting in July. I’ll be wearing a work in progress!
So here are my tips stemming from this project:

  1. Keep a record of the brand, colors, and number of strands used for the colors. Also add any notes or ideas you have as you progress on the project. A notebook or sketch pad would be good for this. Then just in case your supplies get separated from the project you’ll still have a record. You guessed it, this project is years in the making and has gone through several moves and an organizational attempts by my daughter. I think I succeeded in matching what was already done pretty well but it would have been easier with a record. Of course the record has to be available too! I’ve even thought about using sticky notes on the project.
  2. I’m down to just needing black thread for the first goal. I plan to take it with me when I take my husband in for some medical tests. He’ll be in for at least 2 hours so I should be able to finish. Since I know I’ll need quite a few sets of floss I’m going to prepare them ahead of time. First I’ll cut my lengths then separate them into 2 groups of three strands each. I put a small overhand knot at the end of each set. As I cut the lengths and separate the strands I keep them all going the same way so I know which is the top (edge pulled from the skein) and which is the bottom (cut from the skein). When I put the strands back together I try to get the edges even as near as possible. I’ll pull them through my thumb and forefinger to smooth them out and then tie the knot. Then I can trim the excess and make the top even. I’ll prep several of these at one time if I know I’ll need a lot and know how many strands I’ll be using. Of course this won’t be necessary if you are using a non-stranded thread like pearl cotton.
Another section of the vest
Happy Stitching!
Rose

Tuesday, May 29, 2012

French Knot Embroidery Tip

Poking through with my needle

Only minutes to spare (okay I passed the midnight mark so it's really Tuesday in Texas) and I'm posting my Monday night hints and tips. This is for those who would like to embroidery French knots in close quarters. Don't worry too much about missed spots to begin with. When you have the area filled you can spot where you need to add more by looking for the base fabric showing through. To further fill use your needle and poke up from the back wiggling the needle a little to find any bare spots. I always do this to get the area as filled as possible.

Happy stitching!!


Rose

Sunday, May 27, 2012

I’m Here, I’m Here!


As you can see I haven’t reached my goal yet for my blog but I’m not giving up! Just having to juggle life and choices keeps me busy not to mention my grandson Jaden. I spent a couple of days this week helping a dear friend set up her Etsy account. She will be adding more items and improving her shop but you can take a look now. That was time well spent. Also spent some time waiting in doctor’s offices with my husband for follow ups on his recent hospitalization.

So here’s an update on my stitching for TAST2012.
I’ve been keeping up with the weekly stitches but I’m slow on getting them photographed and posted. So here goes!
Crossed Buttonhole Scribble Stitch

Crossed Buttonhole. I decided to stick with my scribbles and actually enjoyed doing this stitch. It took me awhile to get it right and develop a rhythm but then I was happy with it.

Half-chevron scribble stitch


Can’t say the same for the half chevron though. I was almost to the end of my scribble before I realized what I was doing wrong. I think I’ll try it again and see if I like it any better.


Bullion Stitch Scribble
And then there’s the bullion stitch. This is a stitch I first learned from by mother-in-law, Eunice Balaz, and then further expanded on it when I took some lessons in Brazilian embroidery. I really like the stitch but I haven’t used it much recently, You can view my Flickr account for older work using the bullion stitch. 

Recently I used it on my quilt guild name badge and on my February CQJ2012 block. I again decided to stitch with my scribble method and made long and short bullions along the line. The long stitches have 10 wraps and the shorter ones have 5 wraps. The thread used was a variegated pearl cotton.

Butterfly stitch scribble
Finally there’s the butterfly stitch. Oh my! I have never executed this stitch before. I think it would have worked better if I had made the straight stitches a little longer. I left my pencil scribble showing so you could see the original line I followed. I will eventually remove that line.

All of my scribbles are up on my design wall and they may make it into one cohesive piece when they are all done. I may even go back to some of the earlier stitches and do them as scribbles. We’ll see!
Thank you for taking the time to look at my work and a special hug thanks to those who leave comments!

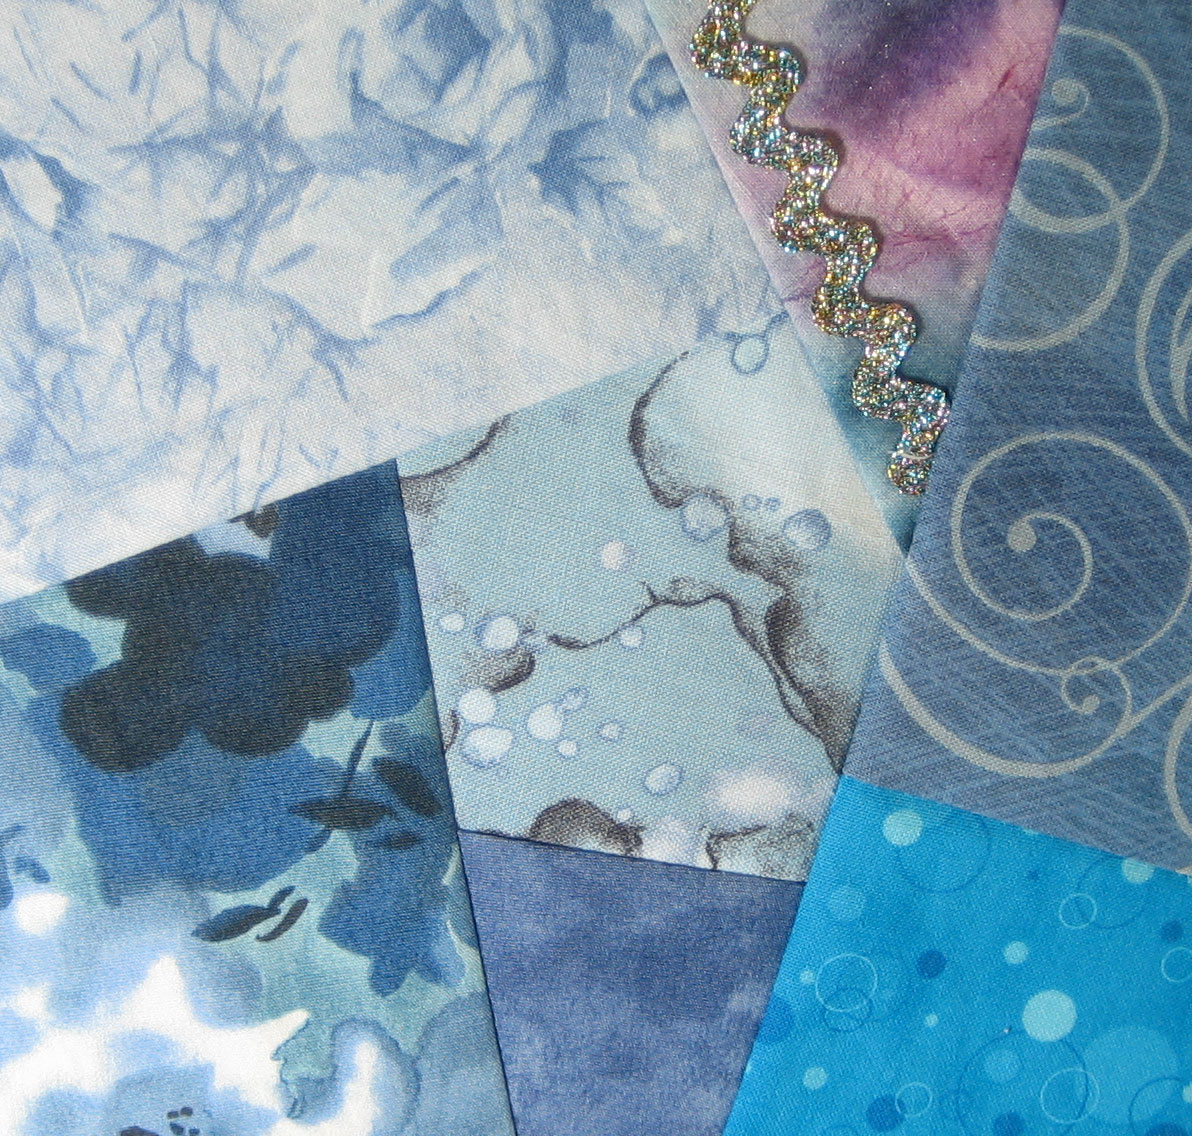
Next I’ll show you my progress on my Crazy Quilt blocks and I plan to have another tip up on Monday. (Oh that’s tomorrow – lol – we’ll see!) I’m way behind on my 12 in 12 so I’m going to take some time to look for some simple ones to try and finish.

  1. The sound of a train announcing its arrival
  2. A gentle breeze blowing
  3. A baby discovering his first tooth
  4. Butterflies

Happy stitching!
Rose